Fantastical plant
Project 3
Final Submission
VFX_425/Class_8


Last class I was introduced to a brand new project: fantastical plants! Essentially, I'm tasked with creating a hyper-realistic looking plant model inside of a terrarium. My inspiration honestly doesn't come from any media in particular. I just like the idea of turning something organic into something man-made.
I started by looking into some inspiration for metal flowers. I really liked the looks of this particular flower, and the website also offered multiple angles for easy reference.
I've included some extra ideas below that I thought looked really good. There are a ton of really cool metal flower designs out there!


Part of the assignment is to put the fauna inside of a terrarium. I chose a less conventional terrarium, that being a snow globe! I'm choosing to do a particle simulation for the "life" part of the project, as well. Snow will be swirling around the flower inside of the snow globe.
I went ahead and jumped into Photoshop to draft a quick rough pre-visualization of what the final render might look like.

VFX_425/Class_9
Over the weekend I had the opportunity to refine my idea into a 3D previs in Houdini and make some much needed changes.
Pre-visualization in Houdini
Houdini is an incredibly powerful procedural modeling and FX tool, and I've decided to use it for this project. The main reason for that is so I can have access to easy integration for particle simulation (that comes later).

Houdini is an incredibly powerful procedural modeling and FX tool, and I've decided to use it for this project. The main reason for that is so I can have access to easy integration for particle simulation (that comes later).
My node setup (left) for the snowglobe is relatively simple, and includes all elements including the glass ball, base, snow, and rocks.
So it allows me to create variants in whatever I want just by changing one setting, like below.


Layout & New Ideas
I wasn't really happy with the environment in the previs I did in photoshop, so I wanted to get a new environment that wouldn't be so noisy. I found a pretty nice reference on Getty Images, and I've set my environment similarly to that.
Houdini uses Solaris + Karma for rendering, so I had to bring my scene in through LOPs (stage) and do a basic rendering setup there.

And that brings me to where I am now! Check out the current progress below.

VFX_425/Class_10
After class 8 I had time to work and refine the previs a bit more into the actual finished environment.

Lighting
The first thing I worked on was fixing the lighting. It was pretty bland in the previs, so I wanted to spice things up a bit. The environment consists of an area light, HDRI, and a few hundred little "bulbs" with emission on them.
Asset Variance


The rocks also gave me some trouble in that I had to scatter them randomly. I ended up creating 2 different sets of points so that I could more easily vary the point scale.

In my previs, the rocks I had created were all identical. Because of their procedural nature, I was able to adjust them with a couple setting tweaks to get 4 different variants to scatter across the snow. I also varied the size quite a lot to get the preferred layout.
Also, I added snow on top of them!

UV Unwrapping
I want to do most of my materials procedurally or with texture bombing. I don't see a need to go into Substance Painter or Mari for materials like snow, glass, or even rocks. However, I do think the base of the snowglobe and ground could benefit from some texture painting.
Houdini isn't really built for UV unwrapping and it's certainly not the best at it. Usually the best way to go about UVs is to throw down an unwrap node, then project node if that doesn't work, and finally use a labs auto UV node as a last resort.

The results are pretty meh, but honestly it gets the job done.


And that's what I did for the past day or so! My current progress is below (using the Optix denoiser for a better, faster result).

VFX_425/Class_11
During the weekend I finished and rendered out the first pass of the finished camera animation.
Particles & Snow
For a snowglobe to be a snowglobe, it needs snow! The snow uses a POP simulation instanced on some points scattered within the snowglobe.


I then instanced some low poly deformed sphere to create the illusion of snow.
On a side note, I also blended the rock snow in with the ground snow to create a more cohesive look. That way, the normals will blend and you won't be able to see an ugly seam between where the ground and the rock snow meet.

Materials
The goal for this project is to create something photo-real, so that falls mostly on the materials and lighting to complete the look. My main focus to start was to create a realistic looking snow material, as that would cover most of the scene.


I also went into Substance Painter and created a couple of textures for the ground as well as the base of the snow globe. 4k textures make everything look so much nicer!
For the rocks, I decided that texture painting wouldn't be a good option as they are all procedural. I settled on using a simple tileable texture set from Quixel Megascans. It turned out quite well!
And that brings me to where I am now! The first pass render is below.
VFX_425/Class_12
Between classes I fixed some errors that occurred during the first render pass as well as texturing the flower.

Fixes
In the first render pass, there was an error with the glass that caused obvious striations at the top of the globe. That was fixed by changing the sphere primitive from a polygon mesh to pure polygons to eliminate converging triangles.

I also wanted to be able to art direct the larger rock placement a bit more, so I ray projected some points onto the snow mesh to create the larger rocks.
Depth Mapping
A criticism I got was that the background lights felt too overbearing/distracting to the overall scene. To fix this, I created a depth attribute for the background lights that dim as they get further away from the camera. It only required one line of code!


Flower Materials
I decided to do my flower materials procedurally for this project as the camera doesn't get in close enough to make texture mapping worth it. I left my metal flower idea behind as I felt it would blend too much into the background. Instead, I settled on a purple flower with a blue glow at the top. I might change the color later.

The materials are pretty straight forward and use SSS to get the look that I needed.

VFX_425/Class_13
I had one last weekend to put the finishing touches on the project. I spent some time working on the snow on the table as well as making sure the render went smoothly.
Ground Snow

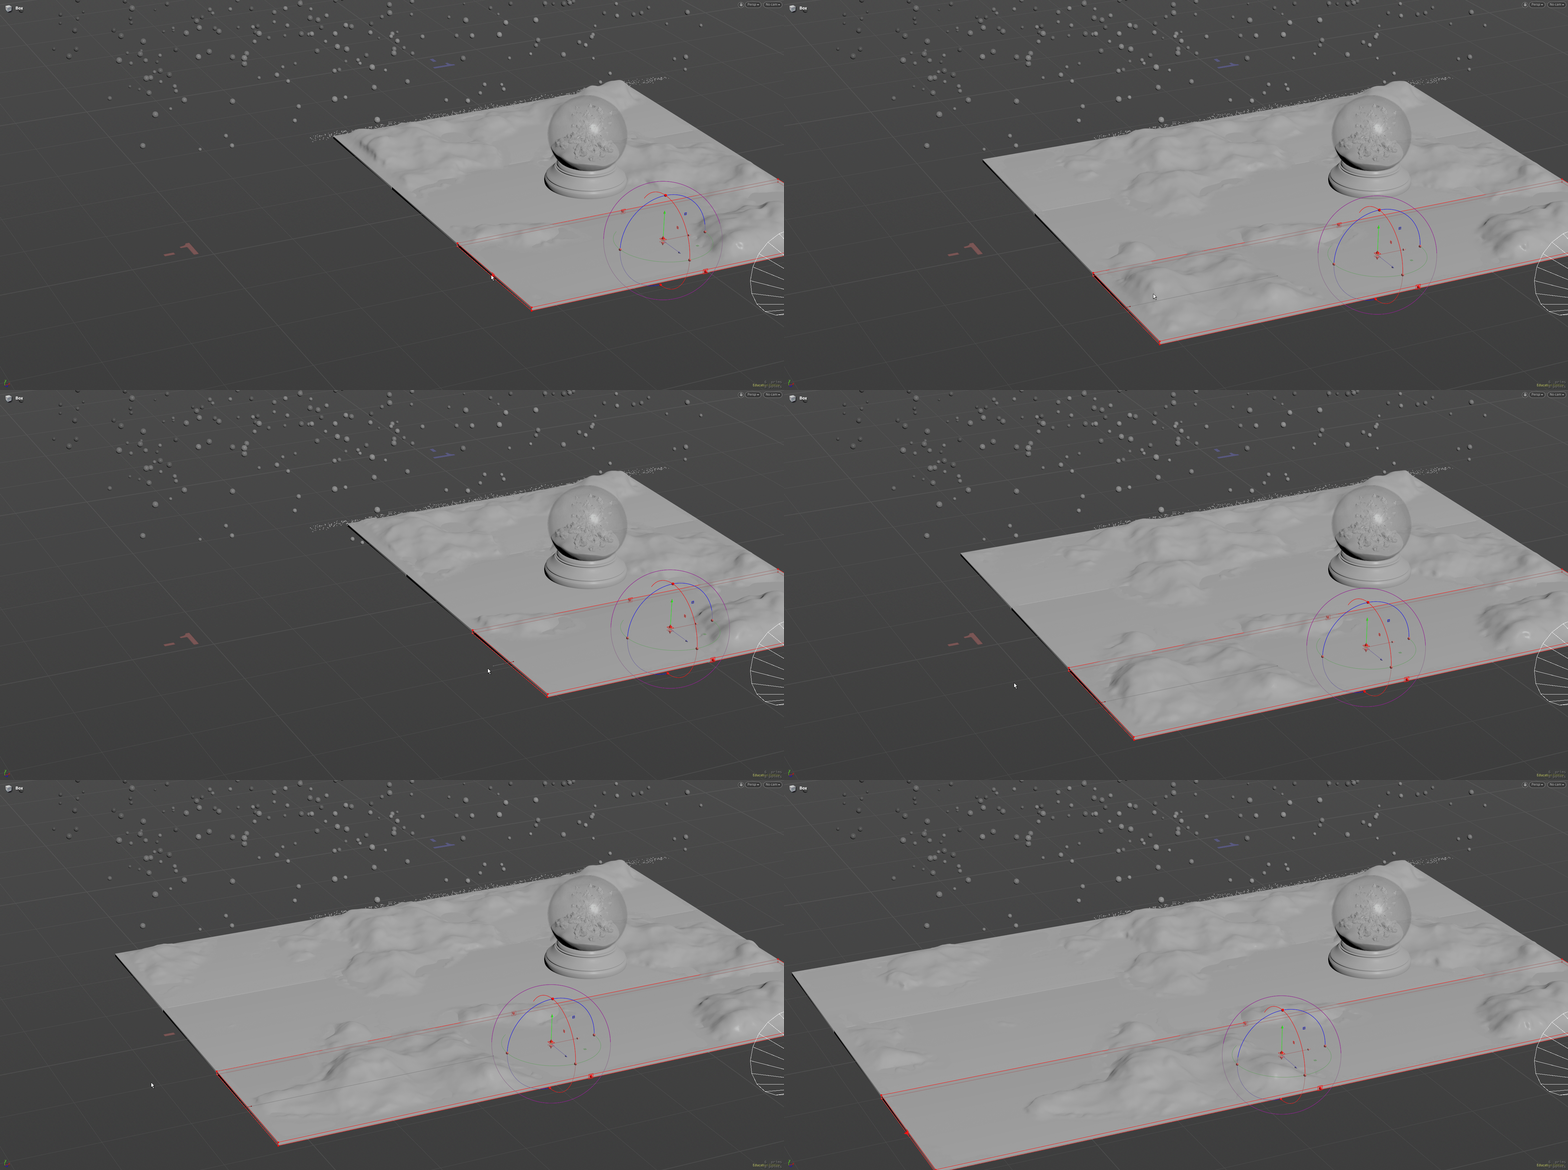
The snow on the table is fully procedural, remeshing and displacing the ground plane. Because it's based off of the ground plane, it can be scaled to any size.
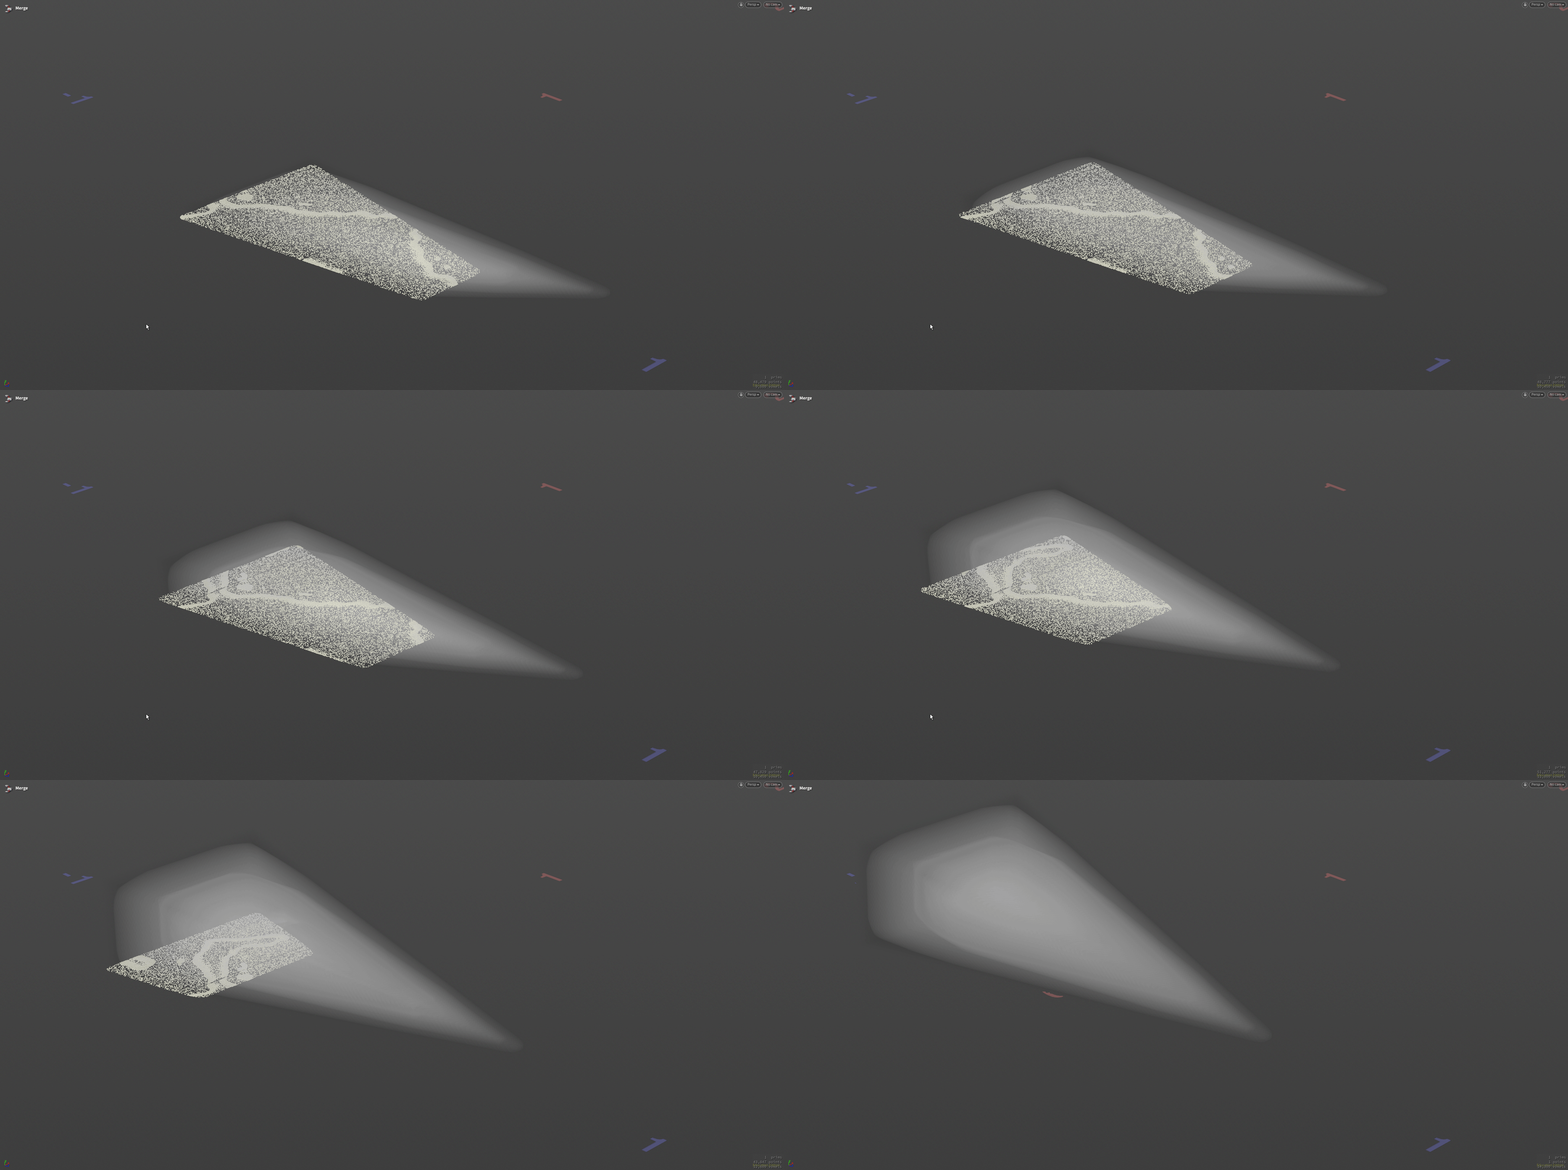
I also wanted to do some smaller snow particles scattered across the table. This was achieved with an attribute transfer node with the procedural snow mesh and table plane.


I then used a volume using the camera frustrum to procedurally delete the points that were beyond the camera's vision. The full node setup is on the right.

Final Render
The final render didn't give me too much trouble. I ended up using SCAD's render farm. The average frame render time was ~34 minutes and the total render time for all 240 frames was 136.28 hours.
AND THAT'S ALL!
The final submission is at the top of the page.

